Do you want to master lighting in photography? Understanding light is the very essence of photography, the cornerstone upon which our art is built. Without light there is no photography.
It is the photographic element that is most transformational. That can take the average and form it into the extraordinary, and mastering it is essential if you want to become a great photographer.
The magic of photography is its power to capture fleeting moments, to translate the ephemeral into an indelible memory. We’re drawn to beautiful images because, as visual creatures, we perceive and comprehend the world largely through sight. This primal instinct drives our relentless pursuit for better and more efficient ways to capture these moments.
I cannot emphasise enough, without light, there is no photography. Light is the constant, an unchanging prerequisite in the ever-evolving recipe of photography. So let’s take a closer look at lighting in photography and how to harness it effectively. However, it is your choice of the quality and type of light that will stamp your unique interpretation on your photography. If you’re after a more in-depth look at lighting in photography, sign up to my photography lighting workshop or purchase my Mastershot Workshop Video Series today.
Rules of Lighting in Photography
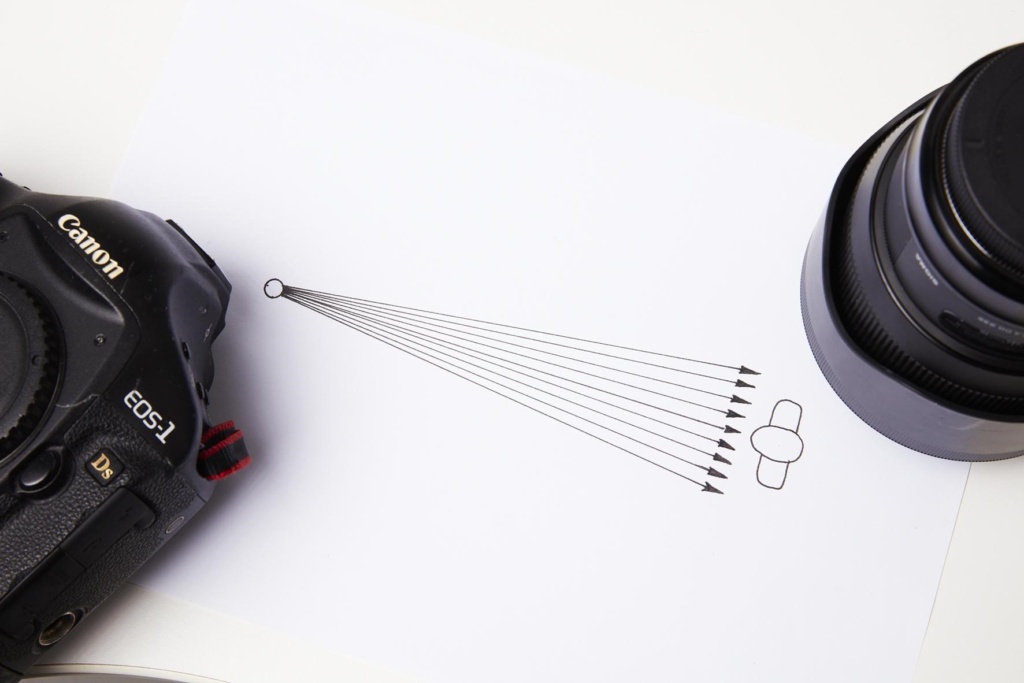
1. Light rays travel in a straight path
Understand this and you will always be able to pre-visualise how the light will hit the subject.
Only those areas of the subject that are ‘seen’ by the light will be lit by the light.
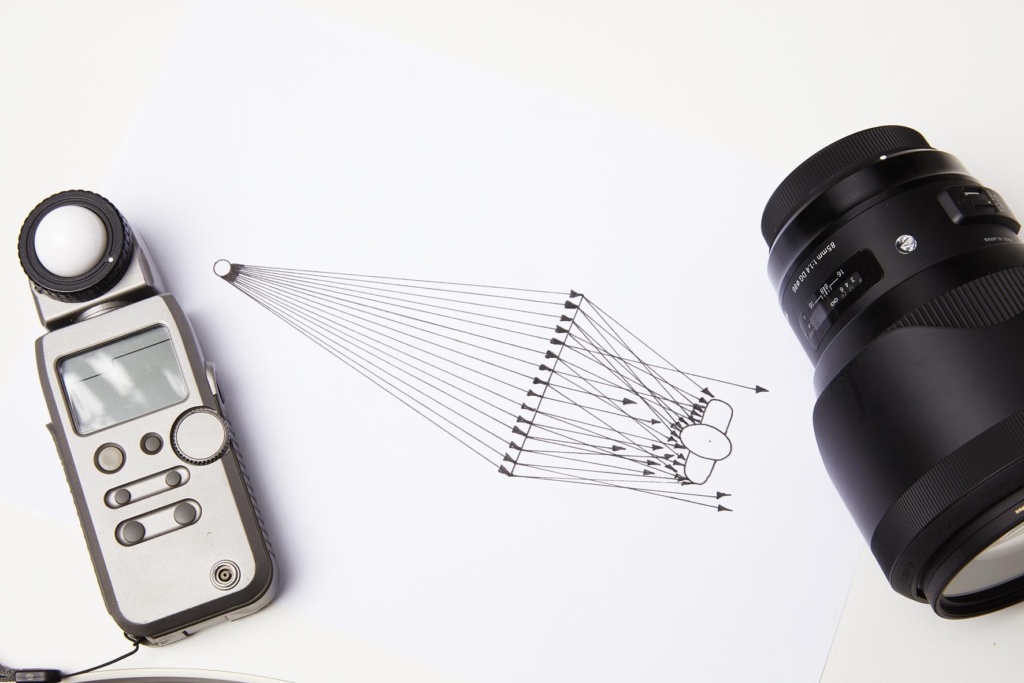
2. The larger the light source, in relation to the subject, the softer or broader the light.
The broader the light source the more points the light rays are coming from, therefore, softening the transition from highlight to shadow.
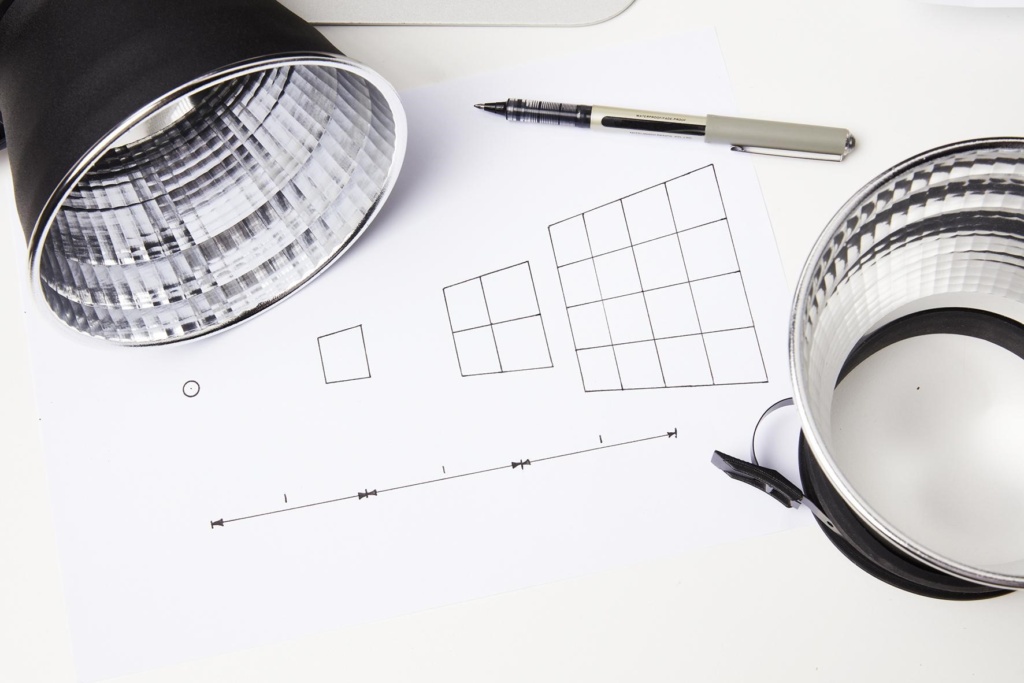
3. The subject receives less light as the light source moves further away.
This is called the Inverse square law of light.
Put simply, place the subject at twice the distance and they will be lit by one quarter of the light. This is also why a background goes dark in relation to the subject when lit from the front by a single light source.
Names of Lights on Set
To make communication on set easier the lights are referred to with specific names:
Key light: The main light hitting the subject, typically coming from the front through any point of the 180 degrees. Often angled in from one side to add contour & depth to the image.
Fill light: Light that is added to the shadows, can be created by adding a secondary light
or by bouncing light off a reflector. This reduces the lighting ratio and, therefore, contrast.
Rim or hair light: A light that comes from behind the subject and is seen by the camera as an outline of light along the edge of the subject. Often used to separate the subject from background.
Background light: Any light used to light the background behind the subject. Whether to flat light a background paper or to highlight a detail.
Types of Lighting in Photography
There are many different types and sub-types of lighting in photography, so let’s look at a few here.
Directional Types
1. Front light
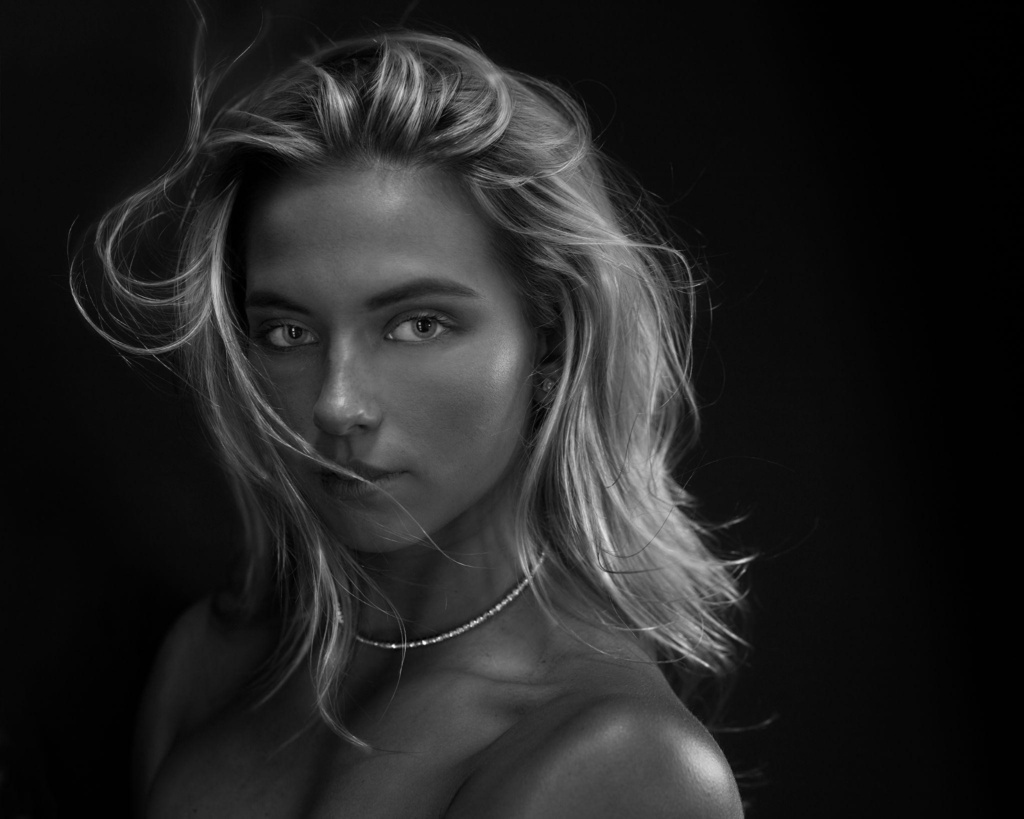
Front light is a lighting technique that illuminates the subject directly from the front, resulting in even lighting and minimal shadows. This technique is often used in beauty photography where the goal is to showcase fine details and capture a clear, unobstructed view of the subject’s features. By eliminating shadows, front light provides a smooth and flattering appearance, making it ideal for showcasing skin texture and minimising imperfections. However, the lack of shadows can also result in a lack of depth and contouring.
Example: Beauty Light

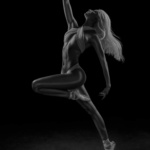
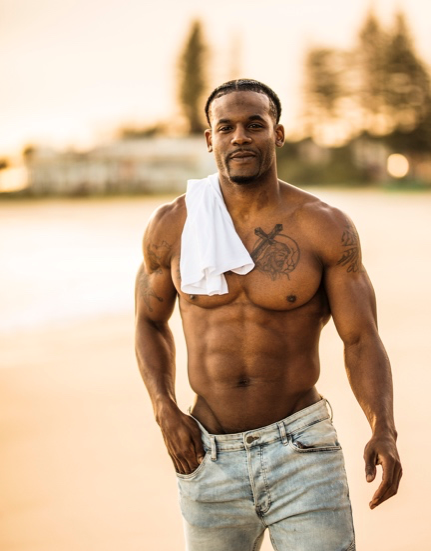
2. Angled light
Angled light refers to a lighting setup where the light source is positioned at an angle relative to the subject. This technique is particularly effective in creating depth, texture, and contour in the image. By casting shadows on certain areas of the subject, angled light adds dimension and highlights the shapes and forms, making it well-suited for fashion photography or character portraits where creating a sense of drama and visual interest is desired.
Example: Fashion or portraiture
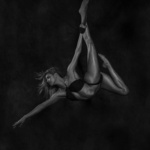
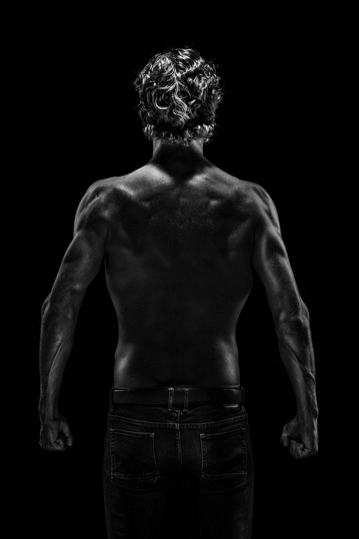
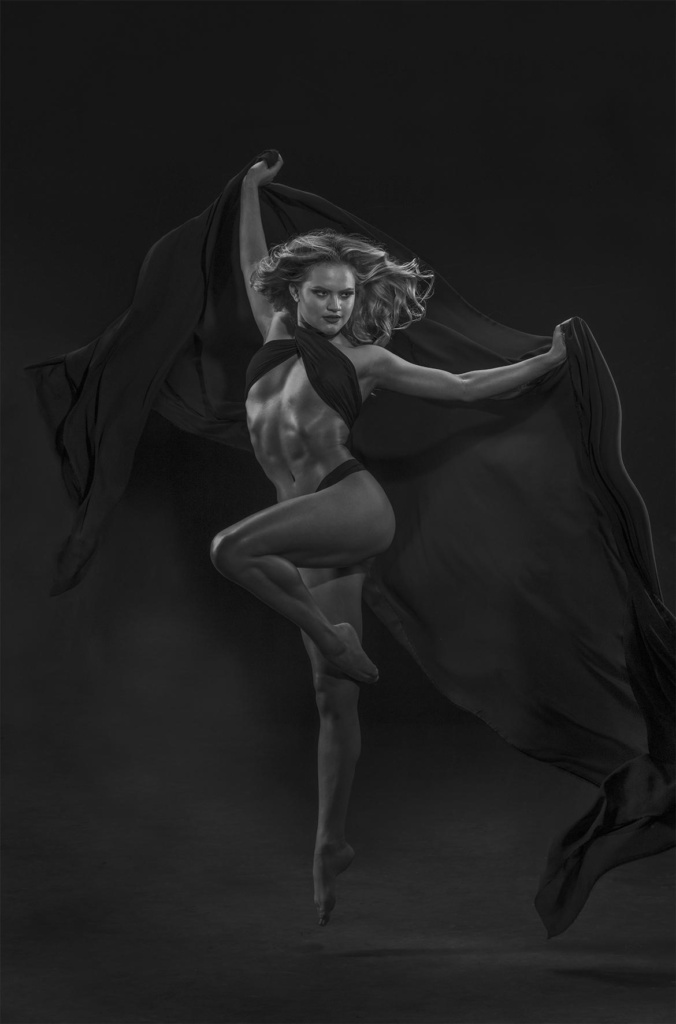
3. Back light
Backlighting occurs when the light source is positioned behind the subject, creating a halo or rim of light around the edges. This technique can be challenging to balance as it often results in the subject appearing as a silhouette without proper adjustment. However, when used intentionally, backlighting can produce stunning and ethereal effects. By deliberately overexposing the background or using additional light sources to illuminate the subject from the front, backlighting creates a sense of depth, separation from the background, and a beautiful glow around the subject.
Alternately, this light direction will be used in conjunction with a front light source, to give separation from the background.
Example: Editorial
Types of Lighting Techniques
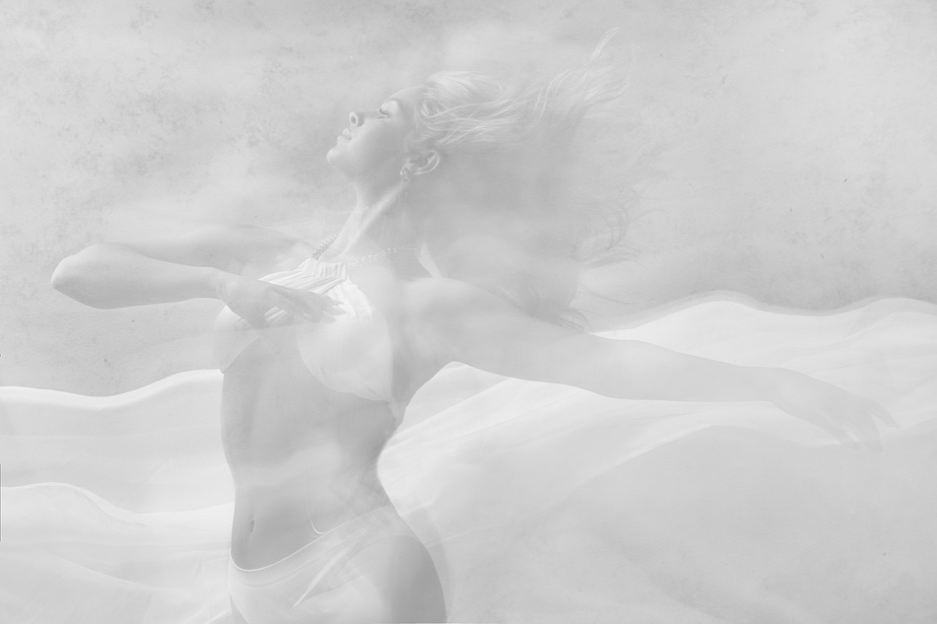
1. High-Key Lighting
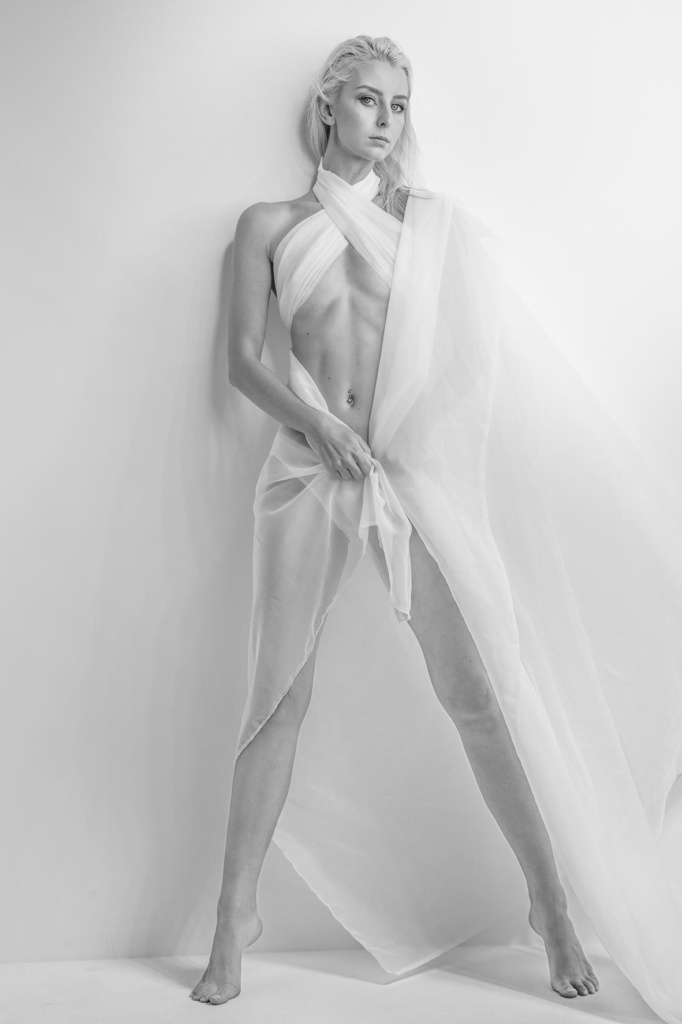
High-key lighting is a technique characterised by a bright and evenly lit image with minimal contrast. It aims to lower the lighting ratio and reduce the presence of true blacks or whites in the photograph. The result is a softly illuminated image with a light and airy atmosphere. High-key lighting is often used in genres such as fashion, product, or lifestyle photography where a clean and positive aesthetic is desired.
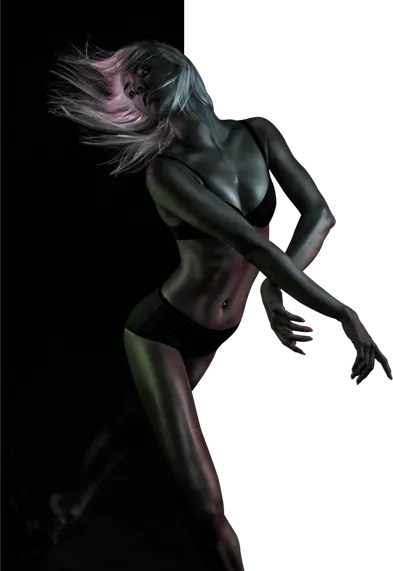
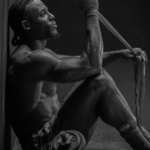
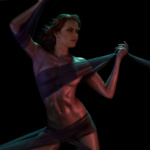
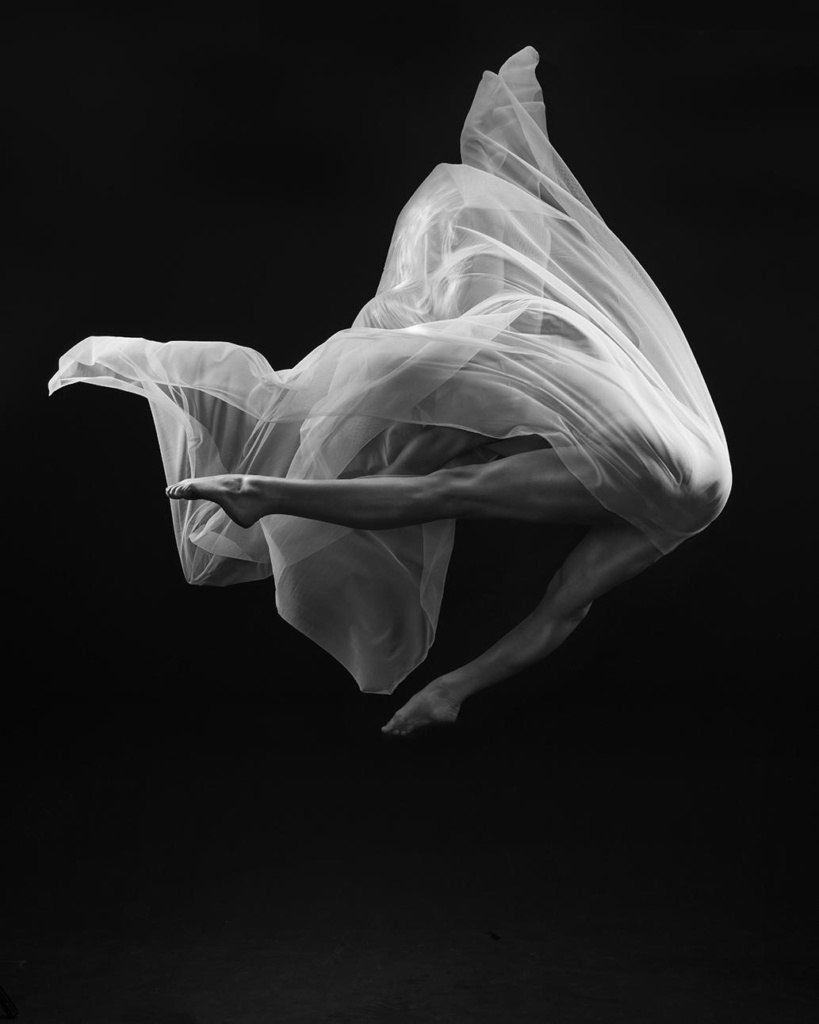
2. Low-Key Lighting
Low-key lighting is the opposite of high-key lighting and is known for its dramatic and moody appearance. It utilises darker tones, shadows, and limited ambient light to create a strong visual impact. By focusing on the selective illumination of specific areas while leaving the rest in darkness, low-key lighting adds depth, mystery, and a sense of narrative to the image. This technique is commonly used in genres such as film noir, fine art, and portrait photography to evoke emotions and tell compelling stories.
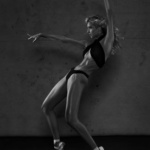
3. High Contrast
High contrast lighting creates a striking and dynamic image with strong blacks and clean whites. It involves using a hard directional light source that produces distinct shadows and highlights, resulting in a compressed range of tones between black and white. This technique is often employed in genres such as fashion, editorial, and black and white photography to create impactful and visually captivating images with a bold and graphic quality.
4. Low Contrast
In contrast to high contrast lighting, low contrast lighting aims to produce a softer and more subtle image. It features a larger range of mid-tones and a more gradual transition between shadows and highlights. This technique is often used in genres such as lifestyle, portrait, and natural light photography to create a gentle and relaxed atmosphere, where the emphasis is on the smooth transitions and a more natural representation of tones.
Types of Light Shapers
Light shapers
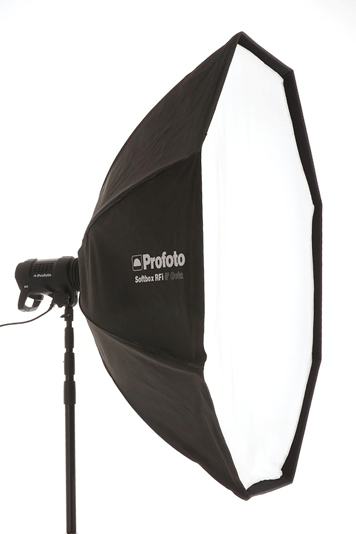
1. Soft Box
The soft box is the most common & popular of the light shapers, the light is inserted into a ‘box’ with reflective sides and diffuser baffles to ‘soften’ the light. The soft box can be square, rectangular, octagonal or strip and comes in a variety of sizes.
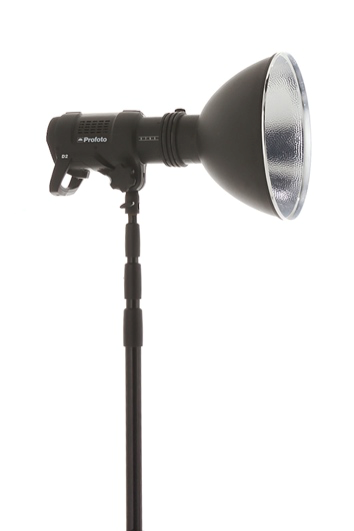
2. Dish & Reflectors
Often called the beauty dish because its distinctive shadows and light fall off is used in beauty & portraiture. The dish has a baffle to stop direct light falling upon the subject and a white or silver bounce surface. Sometimes used in conjunction with a front diffuser.
Reflectors come in a range of sizes and are best described as replicating a pinpoint lightsource. Made of metal with a highly reflective inner surface the shape of the light can be modified with the use of grids & snoots.
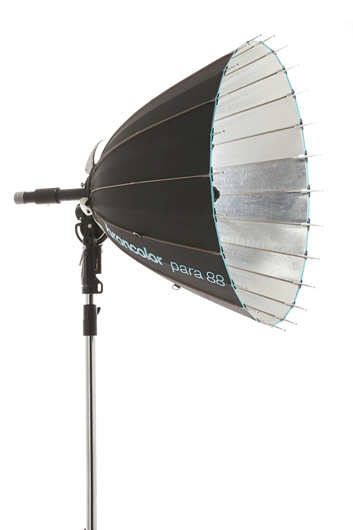
3. Parabolic
As the name implies the shape is that of a parabola and acts as an oversized deep umbrella with the added advantage of being able to slide the light source closer or further away from the reflective surface to vary the light shape. Highly reflective in silver they give a distinct shadow pattern and vignette the light around the subject.
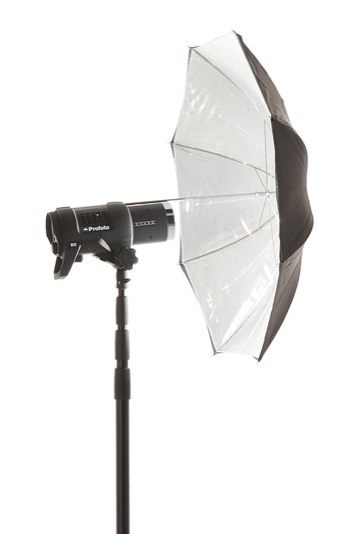
4. Umbrellas
The original method of both softening and spreading the light. The umbrella comes in two configurations: Opaque with a reflective inner surface to ‘bounce’ the light back at the subject or a diffused material that the light is fired through to light the subject.
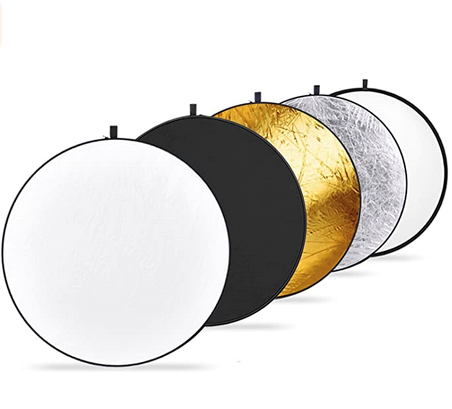
5. Reflectors
The easiest of light shapers as you only need a surface to ‘bounce’ and soften the light. Whether it is a raw light source or direct sunlight the action of reflecting the light off a broad surface can make this light very complimentary. These reflectors can be white, silver or even gold and of various sizes. Please note that a board of polystyrene or foam board can act just as well in certain situations.
Start Using Lighting Diagrams
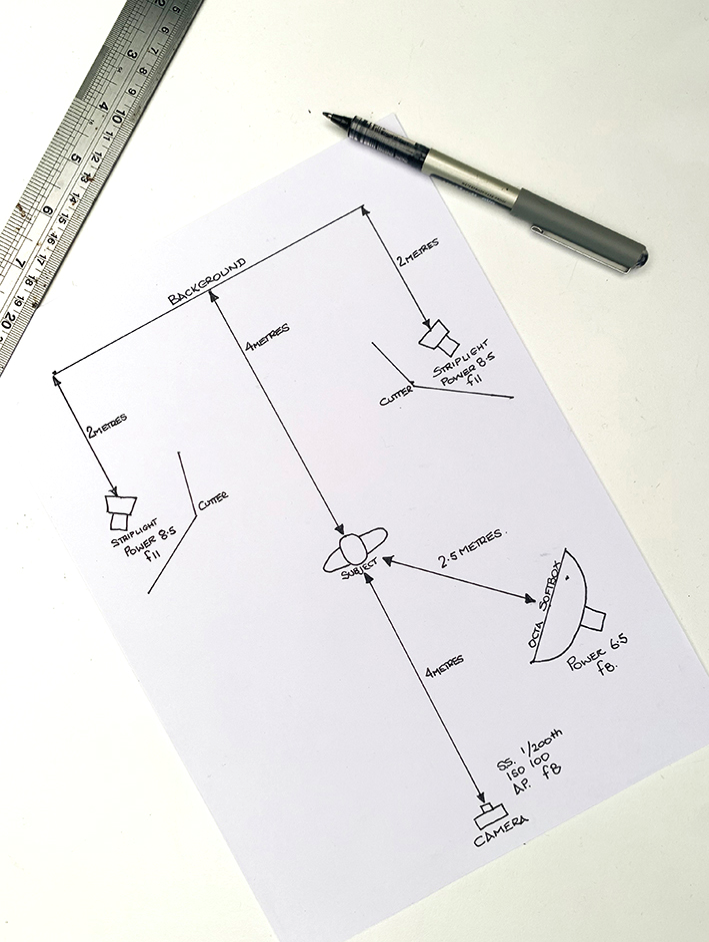
A good discipline to adopt is to sketch lighting diagrams of your lighting setups. This can work in 2 ways:
- Before the shoot, clarify for yourself what you’re trying to achieve and to brief the team and talent you are working with to get everyone’s understanding.
- After the shoot, to record and archive the lighting set up in case you want to repeat.
By adopting the habit of sketching lighting diagrams, you establish a systematic approach to your photography process. It encourages thoughtful planning and effective communication, both essential for achieving your desired creative vision. Additionally, it provides a valuable reference tool that allows you to learn, grow, and consistently produce high-quality results in your future projects.
Learn to Use Photography Lighting to Your Advantage with John Barrett
If you want to learn more about how to harness the different types of lighting in your photography then sign up for my online lighting workshop today.
In this course we cover everything you’ve learnt here and more. So take your understanding of lighting in photography to the next level today, and take the necessary steps to unleash your potential as a photographer.